Taking sushi from rice to roll requires precision, intuition, and a demoralizing cycle of trial and error. I spent 4 years living in San Francisco’s Japantown (i.e. access to great markets & fish), practiced regularly, and rose to the esteemed status of very mediocre amateur sushi chef by the end of my tenure there.
Proper sushi technique can be distilled to 3 areas:
- Selecting, preparing and cooking proper sushi rice
- Ingredient sourcing, preparation, and combination
- Rolling & cutting technique
Today we will tackle just the first: nailing sushi rice. Sometimes the unspoken parts of recipes will blow up the final product – and that is especially the case when cooking something as sensitive as this. I’d like to share my recipe, thoughts and process for producing a durable, reliable, quality sushi rice.
Materials needed: medium-grain white sushi rice, filtered water (preferred but not required), rice vinegar, sea salt, white sugar, rice paddle or large spoon, wide/long wooden bowl or glass container (as in a large, flat base w/ low walls).

Rice Selection
In general sushi rice is made from short/medium grain white rice (though 100s of varieties are grown in Japan, koshihikari is what you typically find in American stores). As long as you are getting this type of rice, quality is generally comparable across the top brands. A common mistake is to buy “sticky rice” or “sweet rice” because it too has a shorter grain – do not do this. To simplify, here are some of the brands that give good results: Kokuho Rose, Nishiki, and Lundberg. Products cultivated in the Central Valley of California tend to be decent. Though I switch it up, I am consistently using Lundberg at the moment.
Pre-Cook Preparation
Before starting, you’re going to want to throw on some Brazilian music. It keeps the process in a flow state, prevents overthinking, and minimizes rash movements at critical moments. Jorge Ben Jor is a great starting point. Optional (but highly recommended): prepare a martini. Without such essential steps, the finished rice will be gummy, over saturated, and difficult to work with at the rolling stage. Next you have to wash the rice in cold water (~60-65 degrees is ideal). Combine the rice and water into a bowl and (using your hands) begin to sift through the mixture as you would with sandcastle sand. After 15-30 seconds, dump the water out (no need to strain it, just dump the bulk of it out without losing any rice). The exiting water should be opaque – which is a positive sign that loose starch is being removed from from the rice grains. Some recipes instruct you to do this “until the water runs clear”. Basically, just repeat this 4 times total. It’ll be fine and you are ready to proceed to cooking. Don’t let the rice soak either. Strain the rice on the final repetition.
Rice Cooking
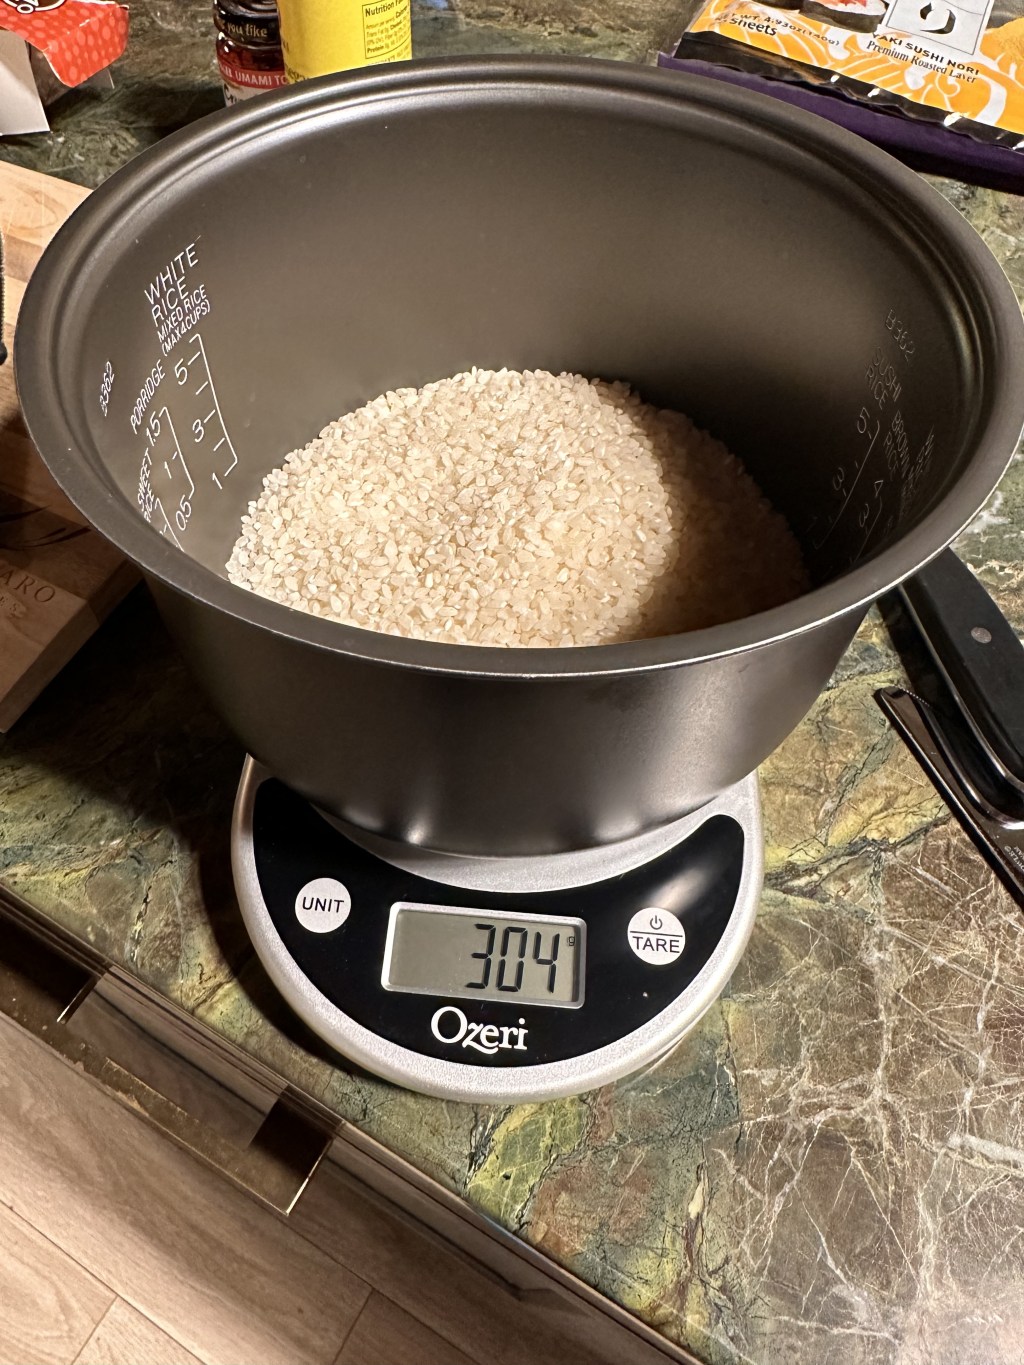
There are two paths here: using a traditional pot, and using a rice cooker. If you cook rice often, a quality japanese rice cooker is 100% worth the money. It’s an easy button for producing restaurant quality rice (given you get the inputs right). If using a rice cooker, follow the measurement markings on the interior of the bowl. If using a traditional pot, target a ratio of 1 to 1.25 (rice to water); meaning 1 cup of rice should cook in 1 and ¼ cup of water. Bring it to a boil, add a well fitting top, and simmer with the lid on for roughly 20 minutes.
During this 20 minute window you need to prepare the sushi vinegar solution. This is the recipe I use for approximately 1.5 cups of uncooked rice.
- 2 tablespoons rice vinegar (I always use Nishiki – its subtle and smooth)
- 1 teaspoon kosher salt (or sea salt). Don’t use table salt
- 1 teaspoon white sugar
Heat and stir until combined, remove from heat as soon as it combines. Don’t boil it off.
After the rice has simmered for 20 minutes, remove the pot from heat and let it steam for about 10 extra minutes with the lid on. DO NOT OPEN the lid to the pot at all during this time. That will ruin your entire batch.
Final Preparation
Dump the rice into your wide, open bowl and spread it out immediately (while wooden is better / traditional, glass also works). The goal is to maximize convection between the hot rice and cool, ambient air. This rapidly cools the rice, seals in the moisture, gives the surface of the grains a nice structure, and prevents overcooking. From a material perspective, this is why wood is technically “better” since it absorbs heat and moisture well.

After the rice has sat for 5 minutes, you are ready for the final step. Pour the rice vinegar evenly over the rice. Next, take the sushi paddle or large spoon. I call this step the “Flip & Tally”. Flip a section of rice as if you are flipping a pancake, then “tally” through it (drawing four parallel lines with the edge of the paddle; and then a diagonal line through them). Repeat for 3-5 minutes until the vinegar is evenly distributed throughout the grains.

Congratulations, you have sushi rice! The finished product should be light, sweet, sour, satisfying; but also subtle. It is, after all, ultimately a base for other flavors and ingredients. Stay tuned for Part II on ingredients + rolling & cutting technique.


Leave a comment