The Problem:
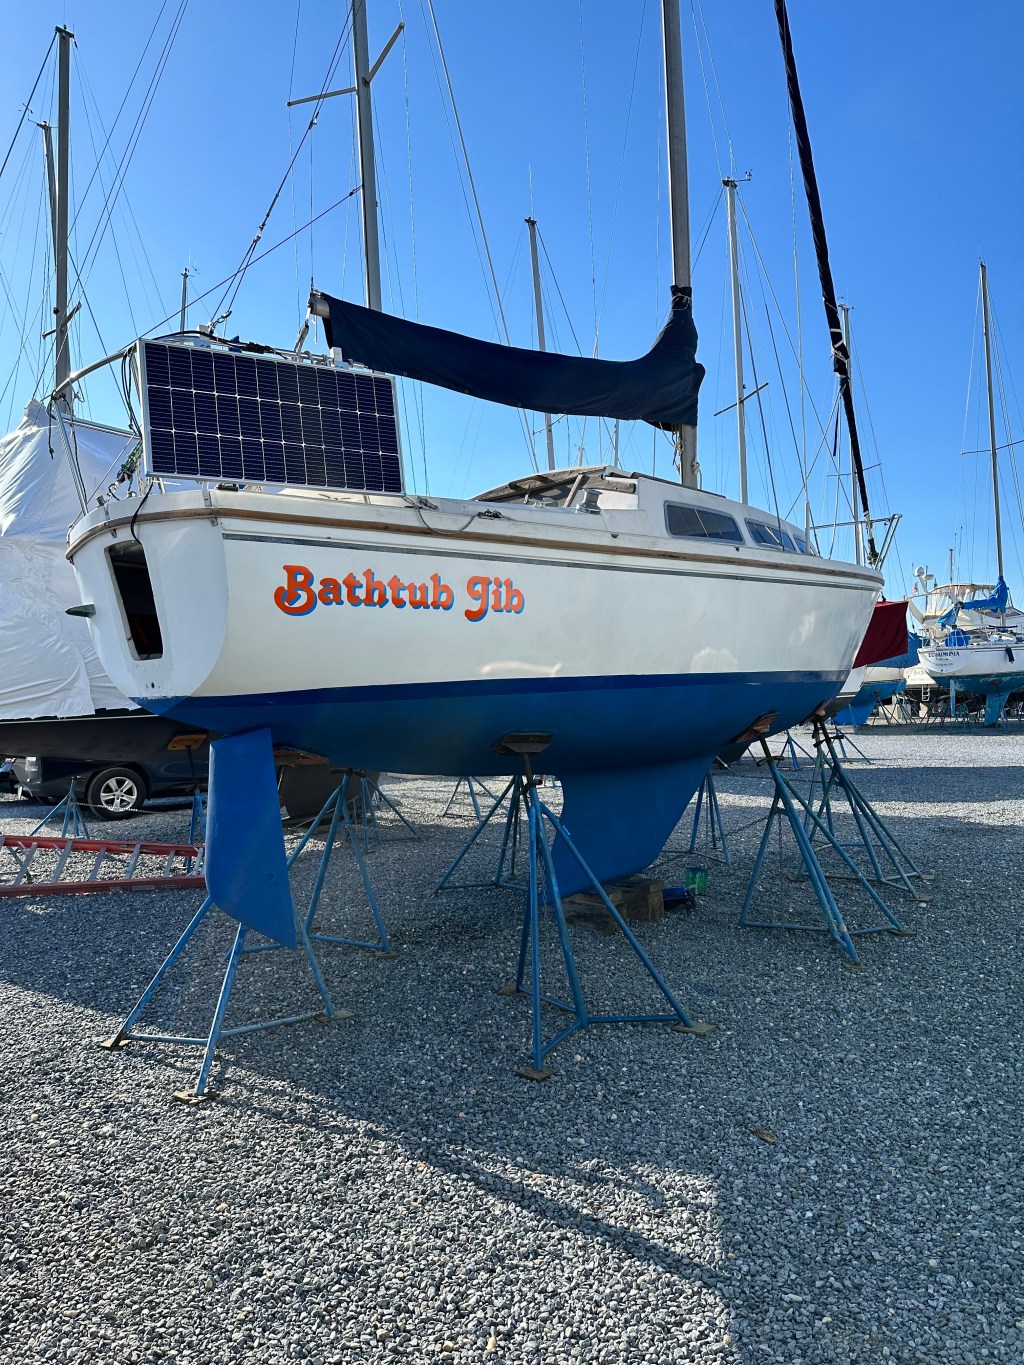
I have a longer term trip planned for this summer on our 1975 Catalina 27 sailboat, “Bathtub Jib” [an homage to the Phish song “Bathtub Gin” as well as a household preference for the spirit]. That means 3 to 7 days (100-200 nautical miles) on the water, spending nights on moorings (essentially an anchored buoy) or simply anchored. The unifying factor: no access to land power to recharge the battery system. Onboard, the electrical system powers a number of fun and essential safety items including the speakers, various chargers, interior + exterior lighting. But most importantly autopilot, Marine VHF Radio & GPS + satellite communication.
Choosing a Panel:
Based on device wattage and daily use time I estimated an average draw of 50 watts in a worse case scenario (charging mobile devices & GPS, autopilot course correcting significantly due to wave conditions, using radio to monitor weather etc.). And in a worse case scenario I would be consuming 50W for roughly 10 hours continuously. To be safe I tried to solve for roughly that number. A good rule of thumb is that a solar panel generates ~5x its maximum wattage rating in watt hours (W h) in the summer after accounting for charge controller efficiency (80%), hours of sunlight, and cloud cover. Now we do some math:
Power Demand = 50 watts * 10 hours = 500 W h
Power Supply = (Panel wattage) * 5x = 500 W h
Target Panel Wattage = 100W
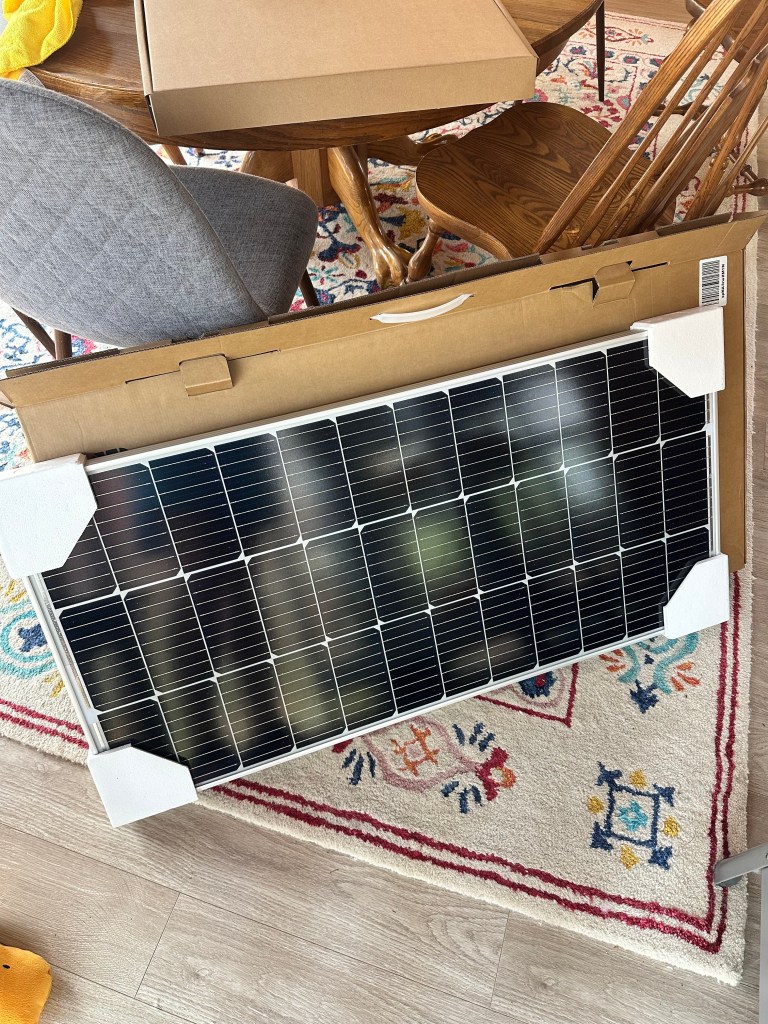
I bought the Renogy 100W starter kit which included a 100W panel, 30A charge controller, and all relevant cabling – it was an absolute steal at ~$130 on sale. As a side note, Renogy has a very useful solar sizing tool on their website. Dog for size:

Mounting
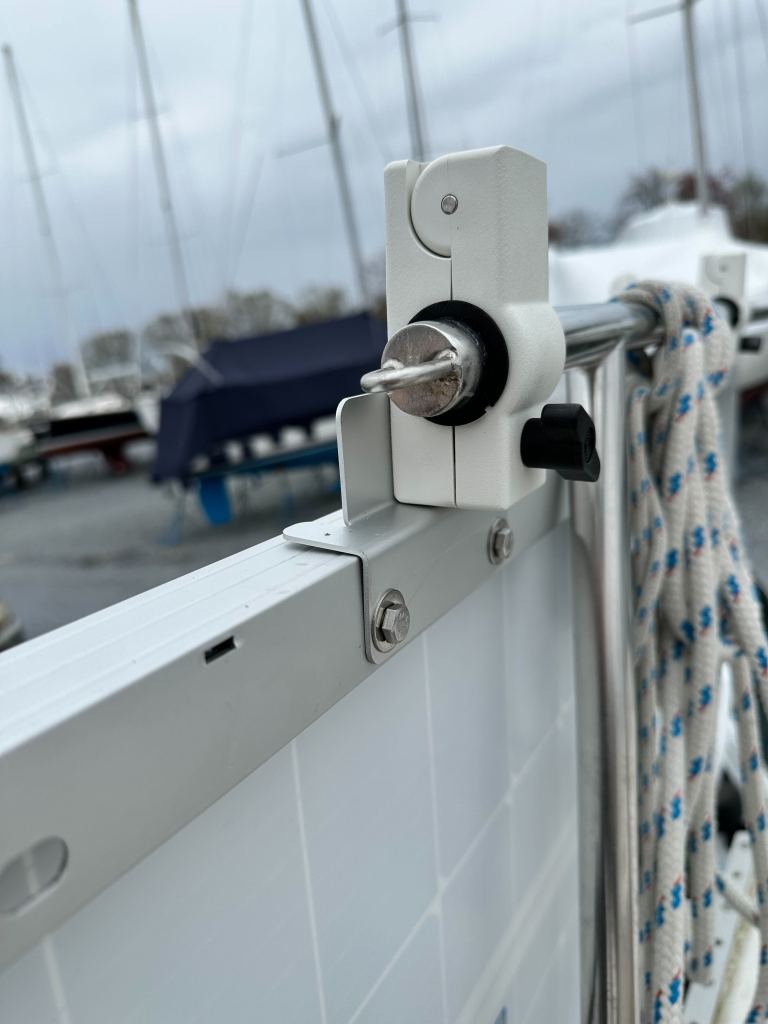
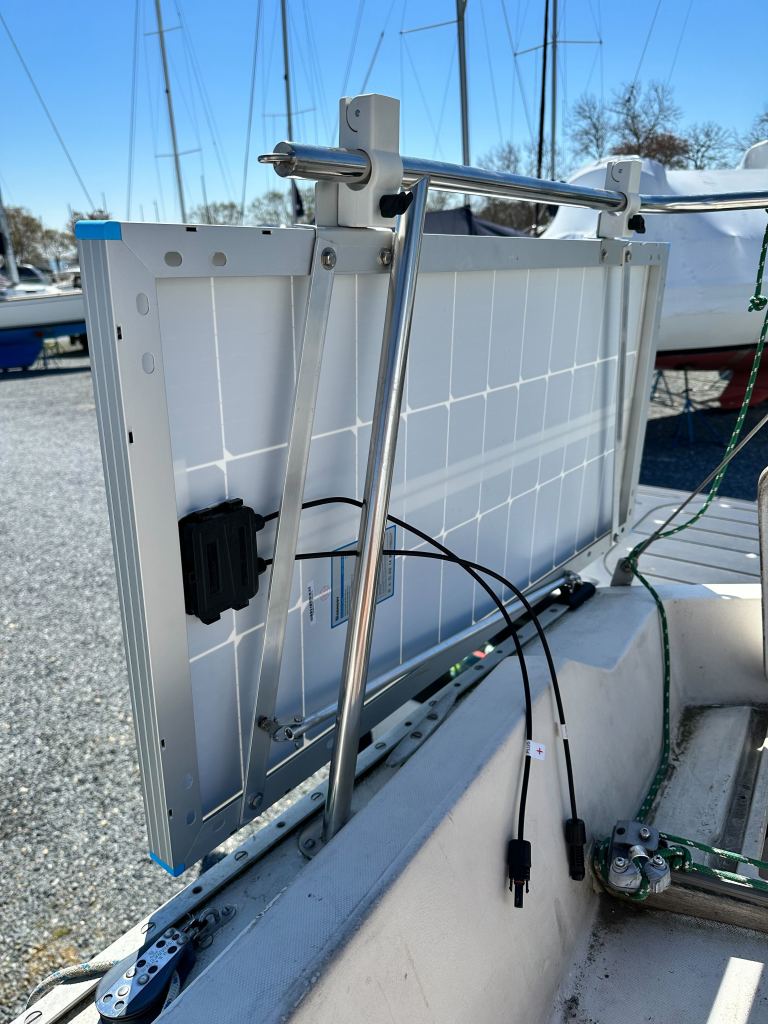
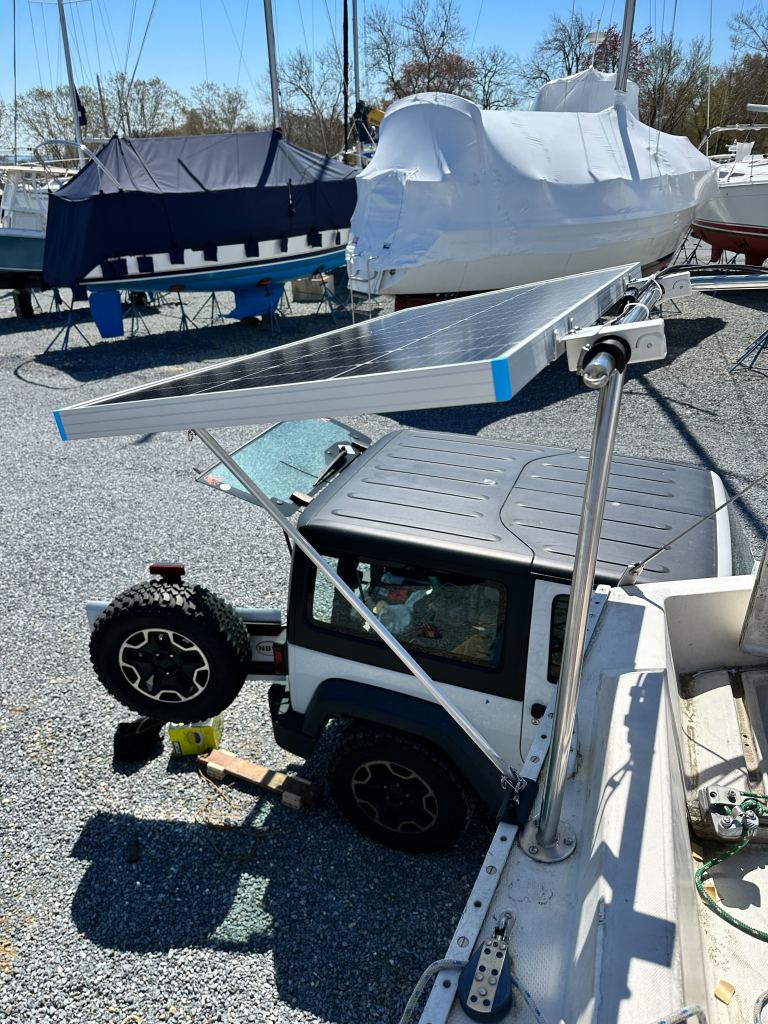
This is a decently sized panel, and I don’t want to allocate deck or cockpit space toward it, so ultimately I opted to hang it on the outside of the cockpit rail and use a swinging mechanism to angle it up towards the sun off the side of the boat. The panel comes with aluminum brackets, which I immediately deemed to be too flimsy. So I drilled extra bolt holes such that 2x quarter inch bolts hold on each of the two brackets I attached. On the other side I drilled holes to align with the mounting holes on these rail clamp brackets made by Sea Dog. It hangs well:
Swing Mechanism
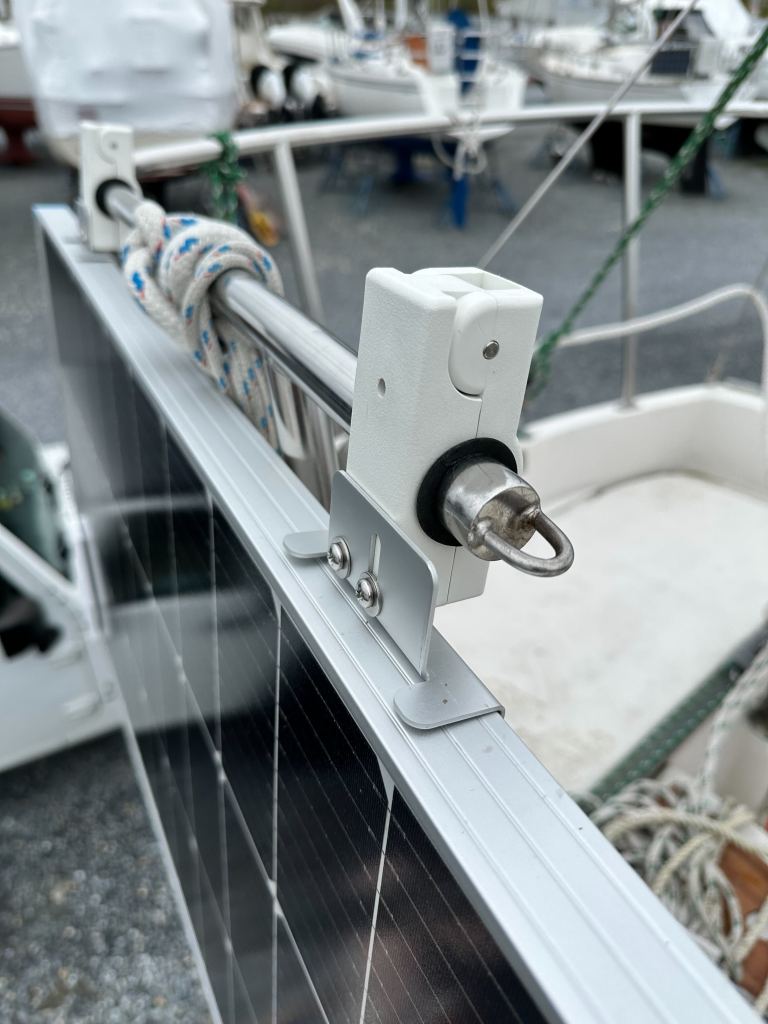
There is a sail track system below the panel, so my thought was to use that in some way since its already on the boat. This way you can slide a track car left and right in order to maneuver the panel up and down. The solar panel frame was really not designed to withstand this amount of force, and I did not want the attachment point for the track system to be the thin aluminum of the frame. My solution was to reinforce the frame with bolted 1/8inch aluminum bars and install a shackle directly on the reinforcement bar. I threaded that through another shackle on an aluminum pole that was attached to this track car from Ronstan via another shackle. Track gear is expensive and this could have been done cheaper with some sort of extendable pole system (maybe a painters pole?). Nevertheless, the mechanism worked and is quite solid. In these photos you can see the open & closed states, as well as the reinforcement bars I added to the panel frame:
Wiring and Integration
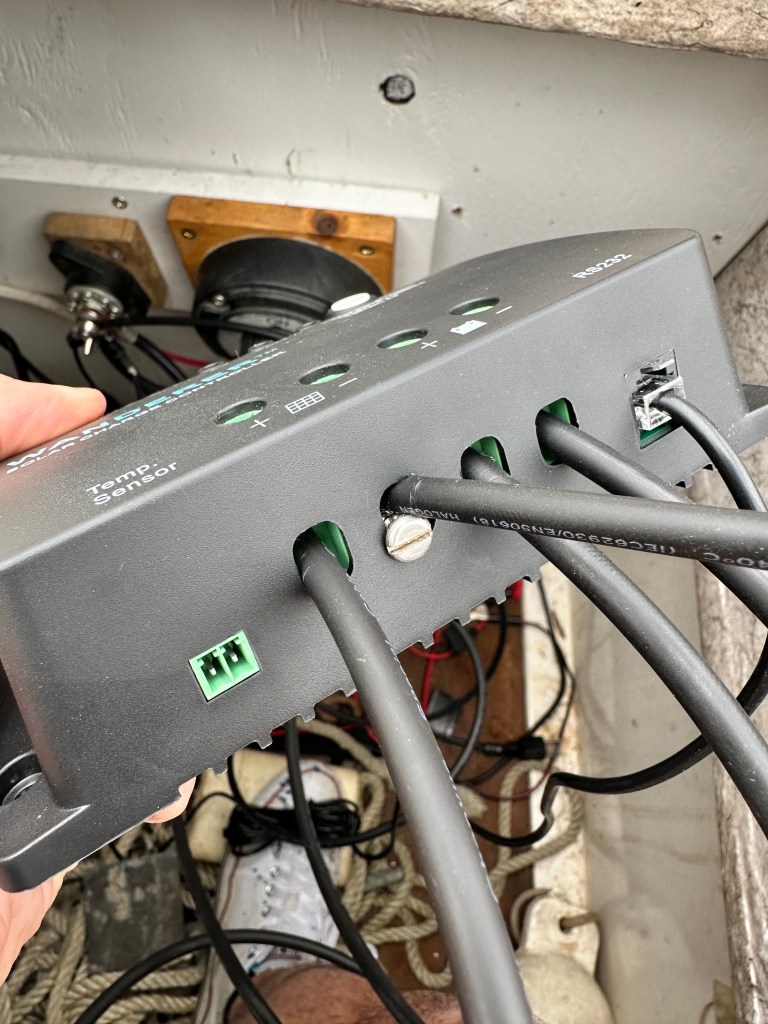
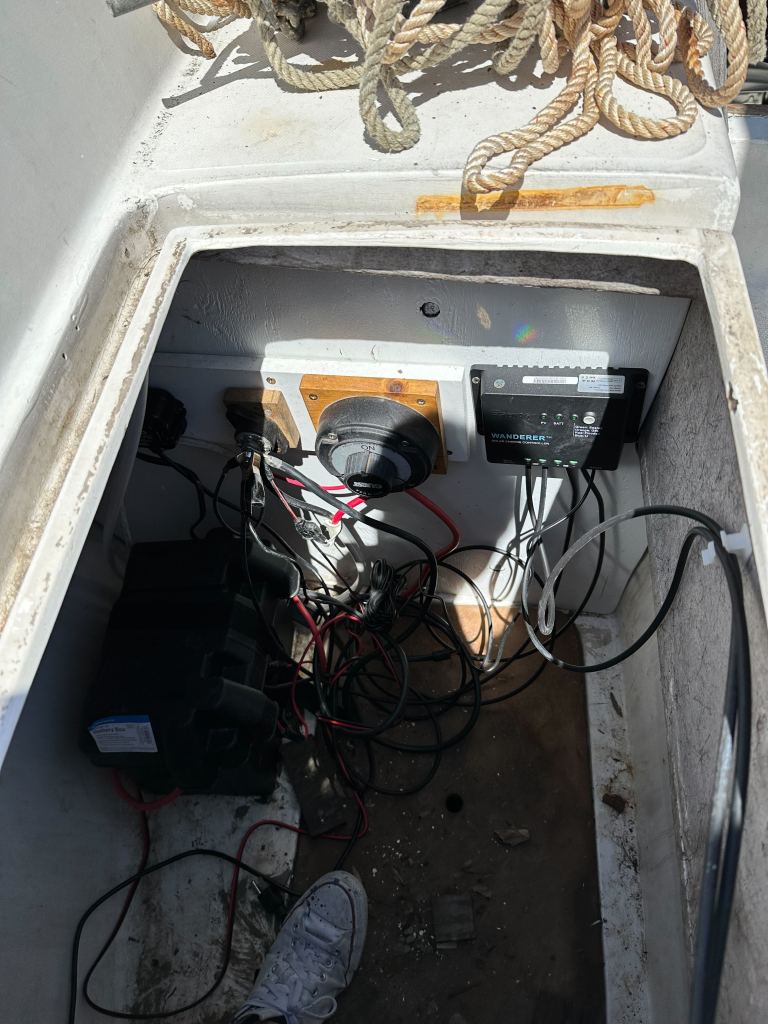
Zip tie, zip tie, zip tie. Anything that can get snagged on a wondering sailboat line ultimately will. I routed the lines against the rail system and down until the back of the transom engine opening, and ultimately to the battery system in the aft lazarette. Those little 3M sticky cable holders are your friend. I mounted the charge controller here as well, be careful with the screws that join cables to the controller. They are pretty low quality and I stripped two of them with pretty minor force. Ultimately I just stuck a screw in there to keep it tight against the plastic. Its good enough.
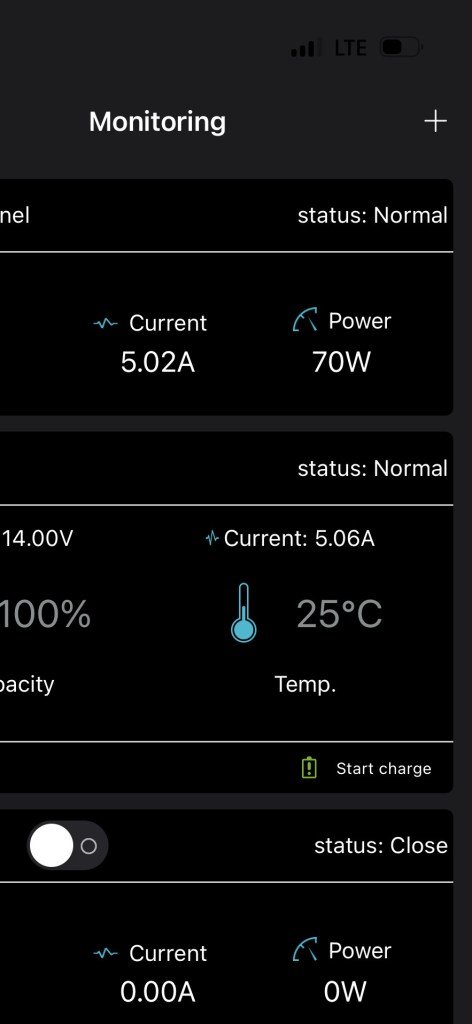
Finally I also bought the bluetooth module since it sends a lot of pertinent information about the battery system direct to the phone (I try to use phone / mobile devices as my UI whenever possible). It monitors battery temp, voltage & capacity and panel voltage & current. Very handy and worth the extra money IMO. And using this I was able to verify the panel was achieving 70W mid day in early April – success! The emergency equipment works and the JBLs are charged forevermore.


Leave a comment